OUR TANK REMOVAL PROCESS:
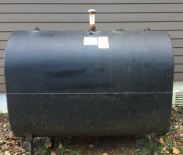
STEP #1- You contact Home Tank Service. We will ask some general questions about the condition and location of you heating oil tank. Usually we can give an estimate over the phone and set a date to remove your tank.
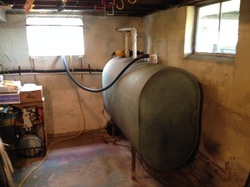
STEP #2- Once we are on location, we lay tarps where necessary to protect your floors, carpets and patios. Next we will pump your tank down to the bottom few inches. This allows the sludge and water to settle to the bottom so that it does not drip once we start cutting.
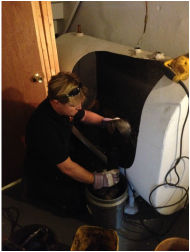
STEP #3- Now that we have the tank pumped out and cut open, we work on removing the liquid and solid sludge waste. This waste gets put into containers that get safely removed from your home. The sludge is later transferred into 55 gallon barrels and it is taken to an environmental waste company for proper disposal.
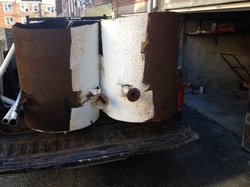
STEP #4- With the tank is cleaned out, it can be cut into smaller pieces so that it can be carefully carried out of your home. An average tank is 27.5 inches wide. We make sure to measure doorways to ensure that we cut the tank into small enough pieces for it to fit.
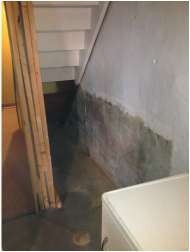
STEP #5- The space pictured is where the tank that we removed used to be. After it was cut up and taken out, we made sure to sweep up. Often the feed line that runs from your oil tank to your furnace is along the ground, through walls, in the ceiling or in the floor. We drain this line and then we remove it or plug it so that all traces of your oil tank have been removed.
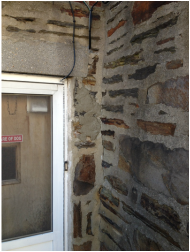
Step #6- One of our last, and the most important, step is to remove the fill pipe and the vent pipe from your outside walls so that no oil can ever be put into your home again. As you can see to the right of the doorway is a patch of cement where the pipes used to enter the residence. Whenever possible, we will fill these holes to ensure that no furry creatures or water make their way into your new, usable space in your basement.
